In this article, you’ll learn step by step how to deploy your first Meteor application to the Galaxy cloud platform, making it accessible from anywhere in the world. Whether you’re just starting out with Meteor or looking for a reliable way to host your projects, this guide will walk you through the process in a clear and beginner-friendly way. By the end, you’ll have your application live online and understand how the pieces fit together.
Before diving into the deployment process, it’s important to understand what Galaxy is and why it’s the recommended platform for Meteor apps. Galaxy facilitates deployment of web applications, providing seamless integration, built-in monitoring, scaling options, and GitHub connectivity. Instead of dealing with complex server setups or manual configurations, you can let Galaxy handle the infrastructure so you can focus on building features. This combination of Meteor’s real-time architecture with Galaxy’s optimized hosting makes deploying your applications both simple and reliable.
What is Galaxy
The Galaxy platform is a service that offers easy ways to host, monitor and manage web applications. It easily integrates with Meteor applications and provides full features such as:
- Integration with Github so you can push your changes when your branch is updated (spoiler: you will learn this in this article!);
- Easily auto-scale your app to cope with increasing load;
- MongoDB, Postgres and Redis hosting so you can manage everything in one place;
- Channel notifications so you always know about errors your application may be facing;
- Expert support that understands your stack technology and can help you whenever you need.
Looks awesome, right? Galaxy is a really helpful platform that lets us ship our applications quickly and make them reliable for our users.
Understanding Meteor’s Architecture
Just as a quick overview before jumping into deployment, it is useful to understand what makes Meteor unique. Meteor is a full-stack JavaScript framework designed to let you build reactive applications quickly. At its core are a few key ideas:
- Isomorphic JavaScript: You use the same language (JavaScript/TypeScript) on both client and server.
- DDP (Distributed Data Protocol): A lightweight protocol that enables Meteor clients and servers to exchange data in real time.
- Reactive Data Sources: Changes in your database automatically propagate to the client UI without extra boilerplate code.
- Build Tooling: Meteor comes with a powerful build system that bundles, transpiles, and optimizes your code automatically.
This architecture means you spend less time wiring up infrastructure and more time building features.
Prerequisites
Before we can deploy anything, we need to make sure our development environment is properly set up. For this tutorial, you must have the following tools installed and configured on your computer:
We need Git because this is the version control that we are going to use to clone, pull and push our code into our Github account (this is very important since Galaxy will get our code from there when we deploy it). And with Nodejs we are going to install and use Meteor CLI to build our sample application!
Create a Github repository
First, we need to create a repository that will contain our application code that will be hosted on Galaxy, for this example we are going to create a public repository. On the GitHub page go to Repositories and on the top right side click on New (or click here). You should see this page:
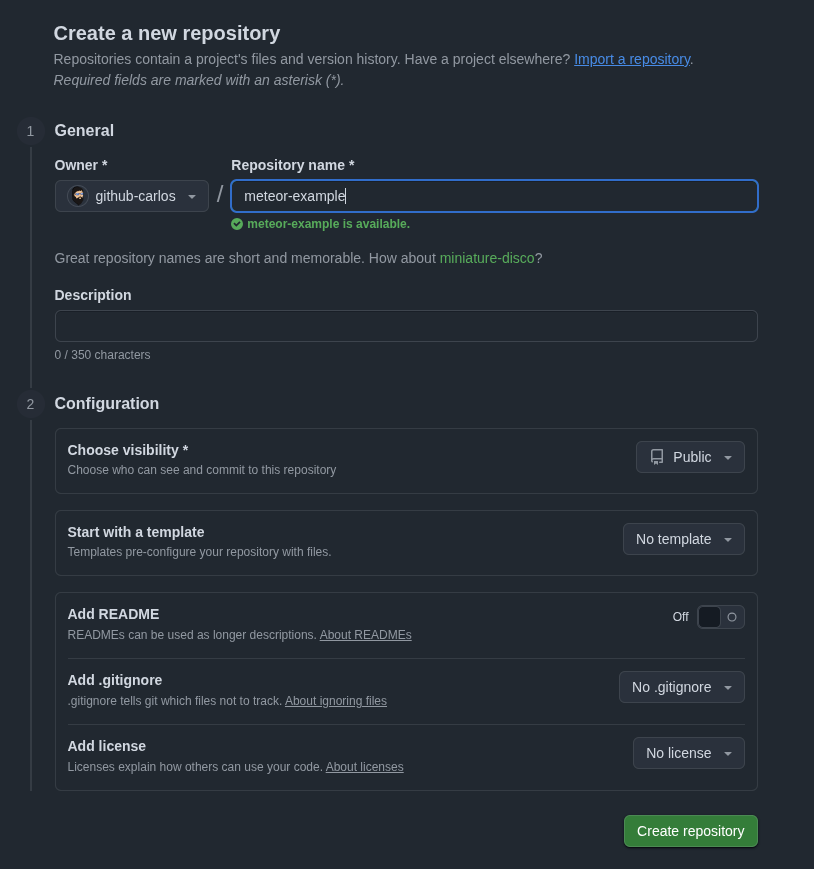
Fill in a creative name for your repository (we can keep default configurations) and click on Create repository. After creating it you can clone this new repository on your machine with the command git clone <repository_url>.
Create Sample Application
Now that we have our repository created and cloned locally let’s build something to deploy to Galaxy!
First we need to install Meteor CLI, you can do this easily with the command npx meteor. After it has been installed successfully we can open a new terminal inside our cloned repository and run:
meteor create . --minimal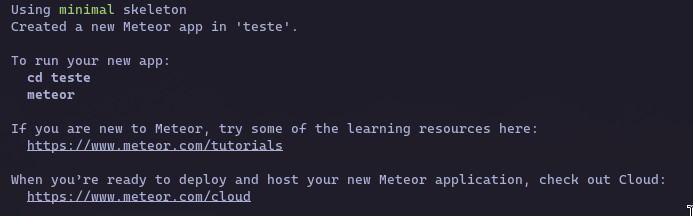
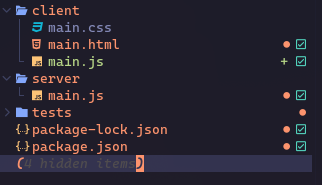
This will create a Meteor sample application with minimal configuration:
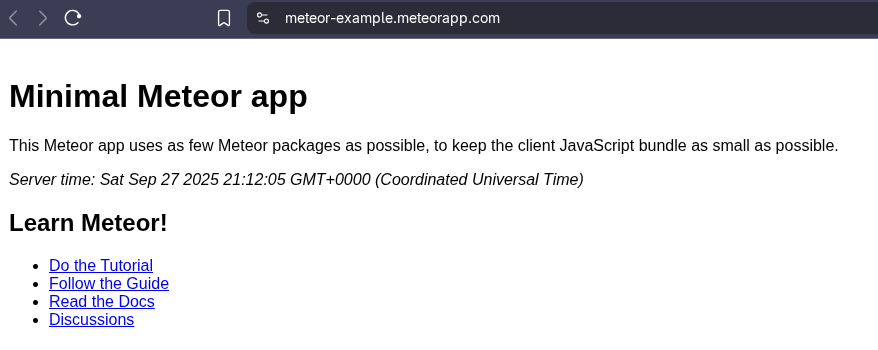
We can run this with the command meteor and head to the specified URL on the output:

Check out our amazing app!
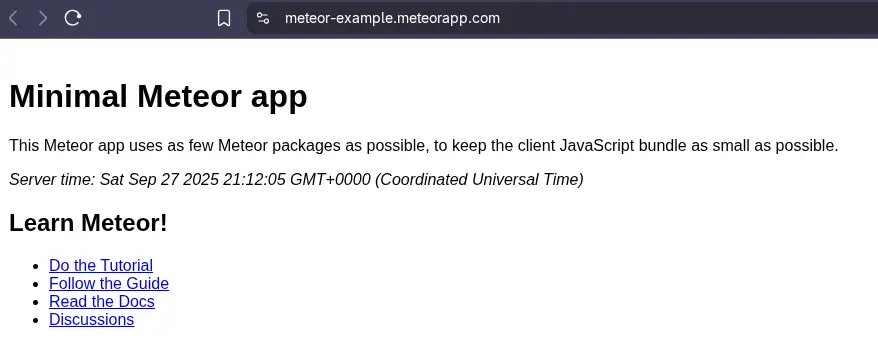
Although it is a very simple app, it is enough for our objective of deploying it to Galaxy, since right now it is only available on our computer! Before moving on to the next topic let’s make sure we publish our new code to our Github repository! Run the following commands to push all our code:
git add .

git commit -m ‘adds v1 code of our amazing app’

git push origin main
That’s it! We are almost ready to see our application live!
Deploying to Galaxy
So now that we already have our application code published to our Github account, let’s deploy it!
First of all we need a Galaxy account, so make sure you create one here!
When you log in to your account you should see a panel like this:
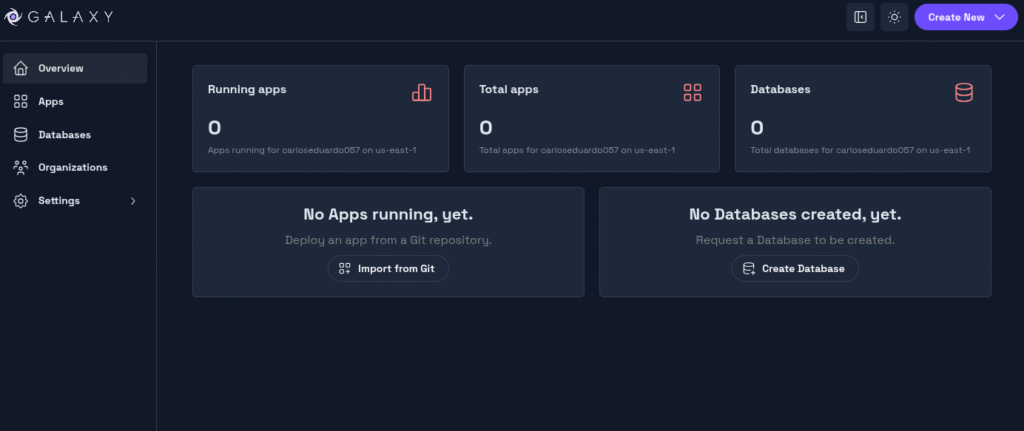
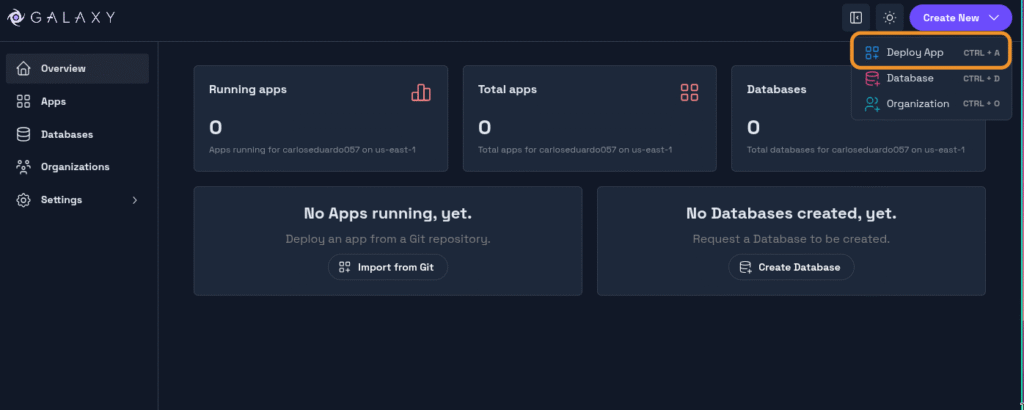
Just click on Create New and choose Deploy App:
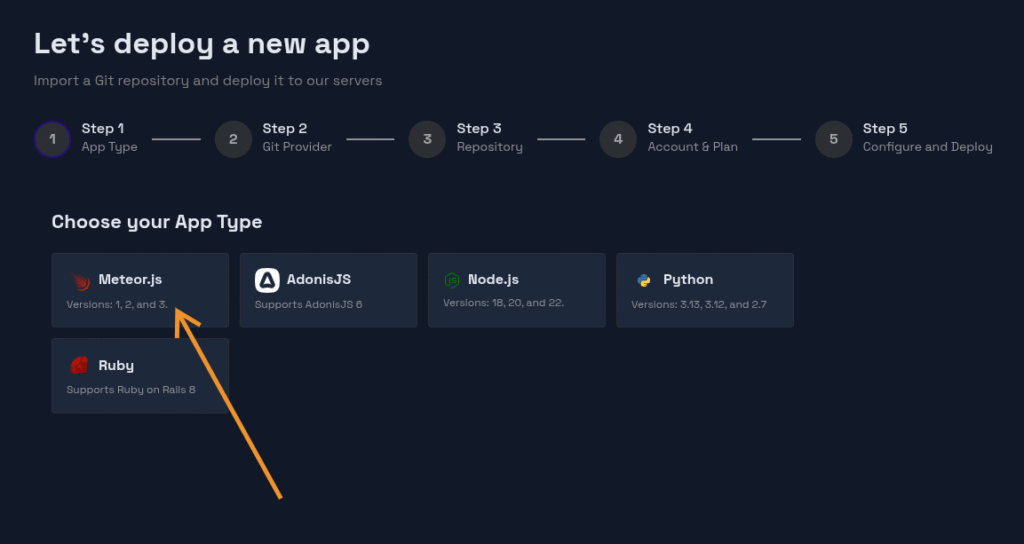
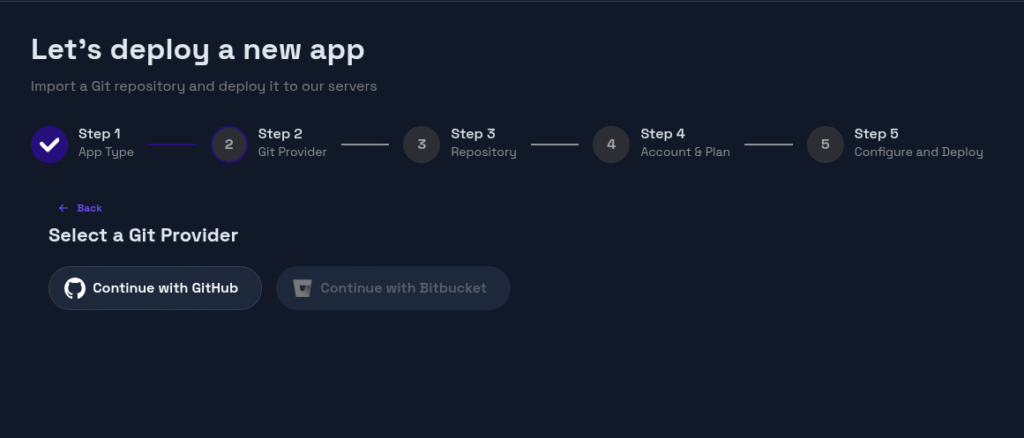
In step 1 we should choose Meteor as our App Type:
It will ask you to select a provider, choose Github and follow the steps to install and authorize it:
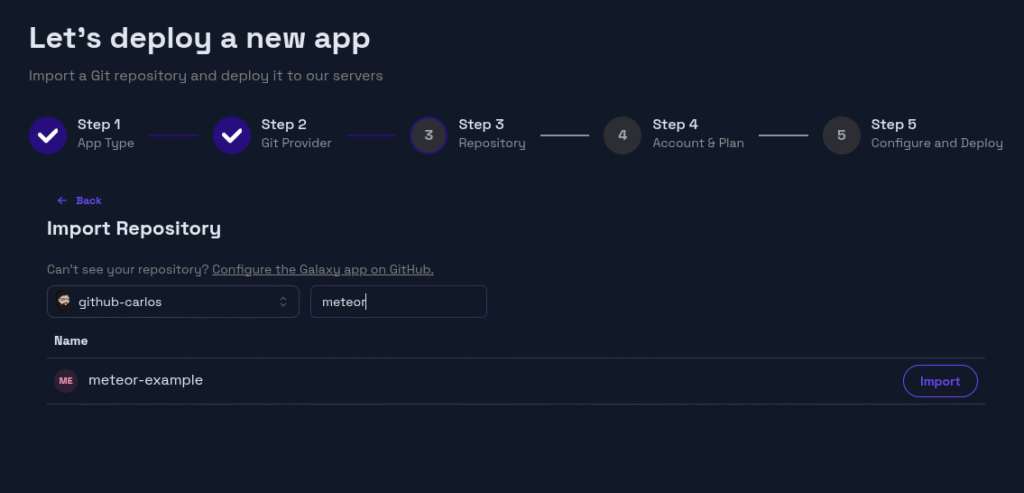
After setting Github as our provider, we will be able to search our Meteor application repository and import it, just like this:
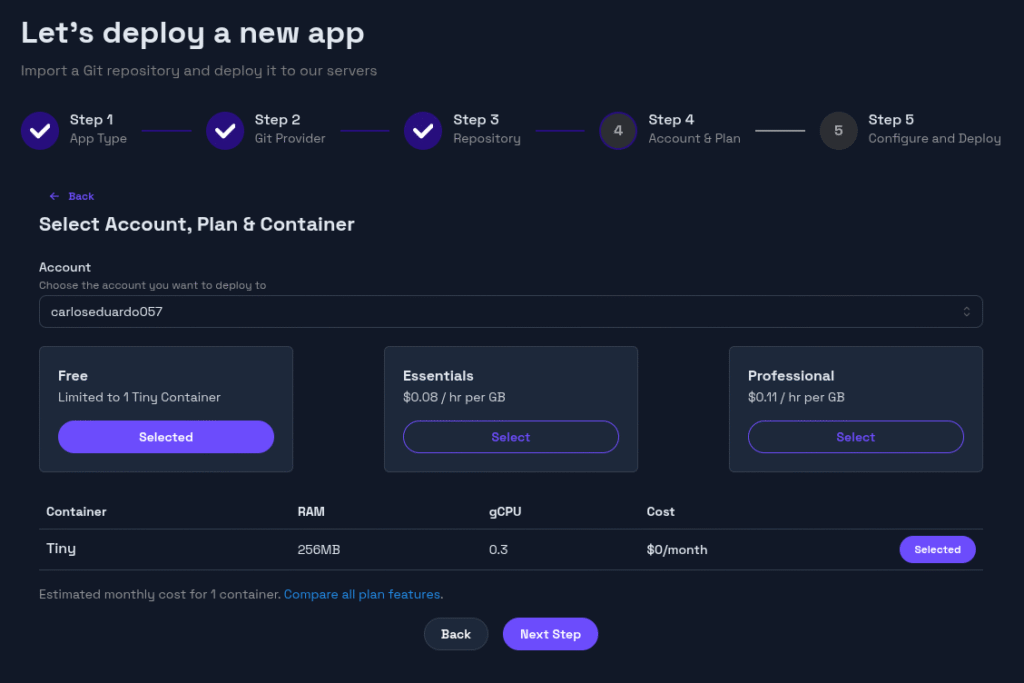
In step 4, we also need to select which account, plan and container we are going to use, we can keep the default selections and click on Next Step:
In the last step we can set the branch to be main and keep default configurations for the region. Then choose an App Name (which will be used on the free url).
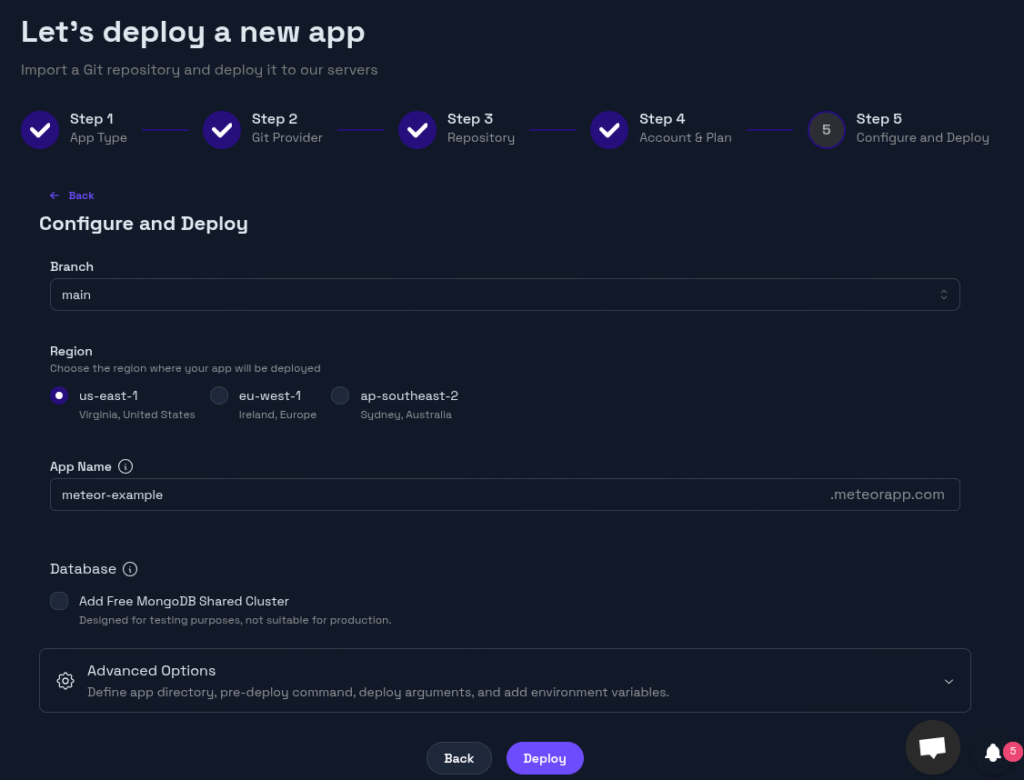
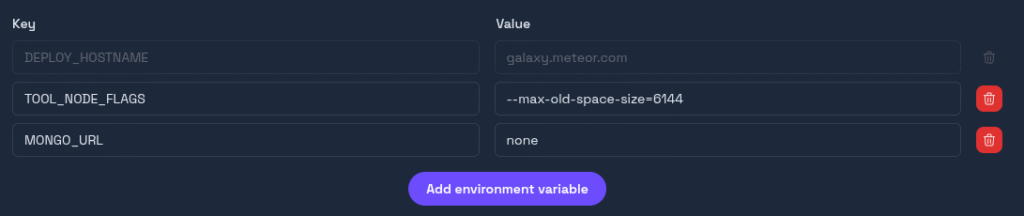
On Advanced Options add a new environment variable MONGO_URL with the value set to none. This way we make sure our app won’t try to connect to any Mongo instance and throw an error:
Then just click on Deploy!
After clicking on Deploy Galaxy Cloud will take some steps such as bundling and building your app image, publishing to Galaxy registry and then executing your server application.
Once your deployment has finished you should see your app status as Running:
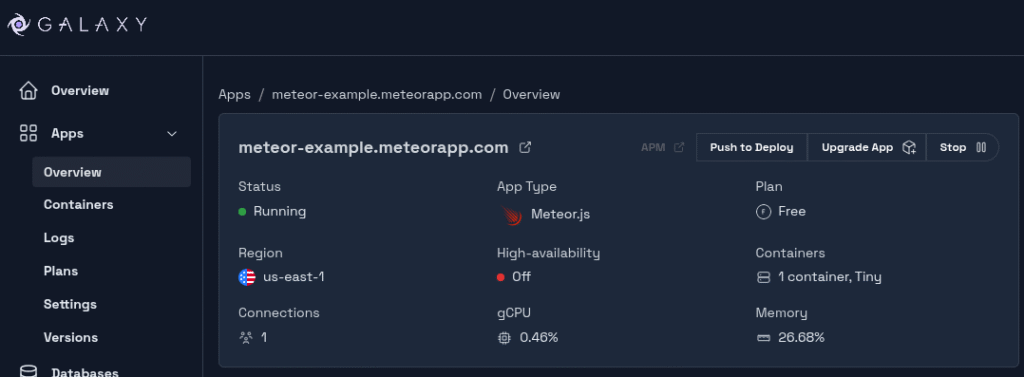
You can just follow the link for your application and check it live and accessible to everybody!
Pretty cool, right? Now that Galaxy is connected to your application repository, every time you publish new changes to the main branch (the one that we set to deploy), Galaxy will automatically detect it and deploy the new changes!!
Best Practices for Production
When running Meteor apps in production, keep in mind:
- Security
- Remove the insecure and autopublish packages.
- Validate all method and publication inputs.
- Use HTTPS with SSL certificates (Galaxy can manage these for you).
- Error Monitoring
- Use Galaxy’s built-in error and log tracking.
- Optionally integrate with external tools like Sentry.
- Performance
- Use indexes in MongoDB for frequently queried fields.
- Minimize data published to the client to avoid overfetching.
- Code Organization
- Split your app into imports, server, and client directories.
- Use Meteor.methods for server-side logic.
Next Steps: Domains, SSL, and CI/CD
After successfully deploying your first app, here are some ways to improve your setup:
- Custom Domains: Configure a domain (e.g., myapp.com) to point to your Galaxy container. Galaxy automatically provides SSL certificates via Let’s Encrypt.
- Continuous Integration/Continuous Deployment (CI/CD): Connect your GitHub repository to a CI service like GitHub Actions. You can automate tests and deployments so changes reach production safely.
Load Testing: Use tools like Artillery or JMeter to simulate high traffic and confirm your Galaxy scaling configuration works as expected. - Explore Meteor Packages: The Meteor ecosystem has thousands of packages, covering everything from payment integration to real-time analytics.
Conclusion
Congratulations! You’ve just deployed your first Meteor app to Galaxy. Now that your app is live, you can push changes to GitHub and watch them go online automatically. As next steps, try customizing your app, testing Galaxy’s scaling options, and exploring additional features that will help you build even more powerful and reliable applications.